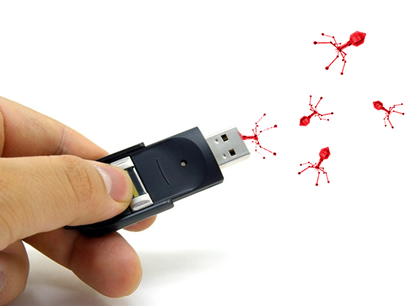

Most virus use the usb pendrive to spread themselves. When you plug in your pendrive into a computer infected with virus, most virus hide your original files on pendrive and copy an infected file with the same name. Scanning your pendrive with an antivirus software only removes the infected files. It does not help you unhide your original files on the pendrive. So here is how you can easily unhide your files.
Note: Do not use any of the below methods on your hard disk drives or it will unhide even the important system files on your hard disk.
Method 1 : Using Windows command prompt

- Click Start > Run
- Enter cmd and press Ok. This will open up the command prompt window.
- Plug in your pendrive and goto My Computer and take a note of the drive letter of the pendrive. Its the letter in brackets at the end of the drive name. e.g. (N:)
- Goto command prompt and type the drive letter of your pendrive followed by colon (:) and press enter
- The command prompt with change the path to your pendrive and show the drive letter. e.g N:\>
- Now type attrib -s -h /s /d *.* and press enter. This command will go through all files and directories in your pendrive and change the attribute of the files and unhide them.
Method 2 : Use a software to do the above job
If you are not too techie and find the above method a bit technical then you can simply use the Portable Unhide software to do the job for you.

- Download the software and run it.
- Insert your pendrive and enter only the Drive letter of your pendrive into the software and press unhide.
- This software will automatically unhide all files on your pendrive.
Do you like this article?